With less than two weeks to go, we are quickly approaching our first Bazaar this Spring! Vendors are scurrying around getting projects ready to sell. Even we are thinking about displays, sale items and paint demos for the event.
With more vendors signed up for this year’s Bazaar, we are getting an in flux of more questions! So, I thought I would do a “vendor series” with tips, tricks and advice to make the most of your vendor space!
Putting together a booth can sometimes be one of the most intimidating projects. We collaborated and put together a list of the top 5 tips we can give for setting up a great booth!
1. Incorporate TEXTURES
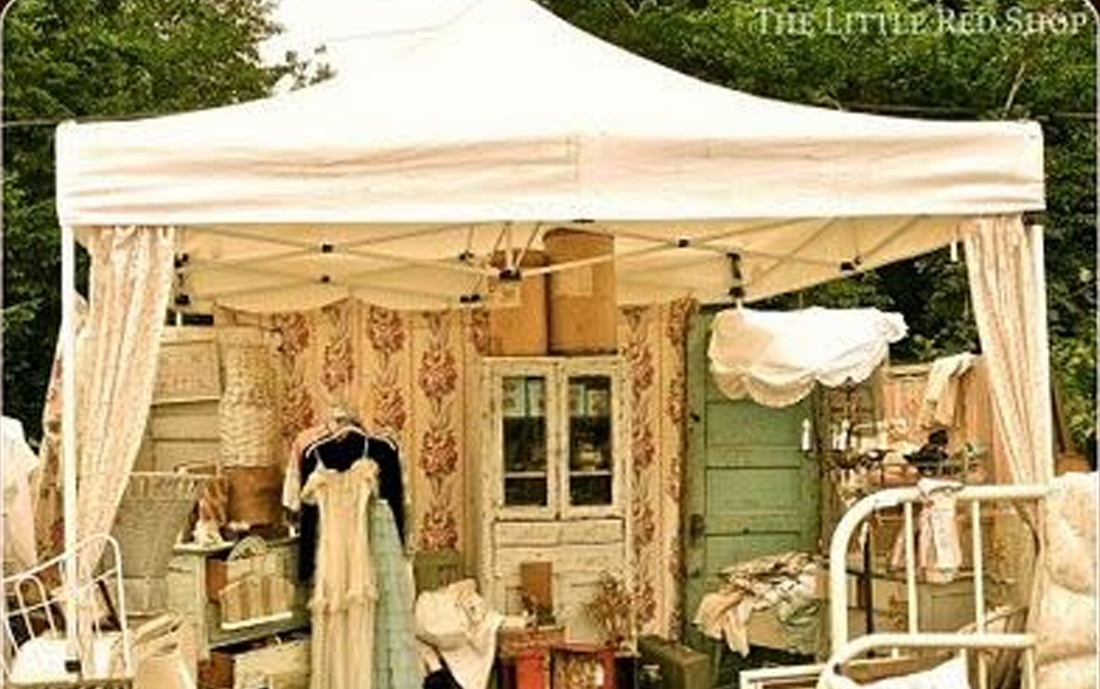
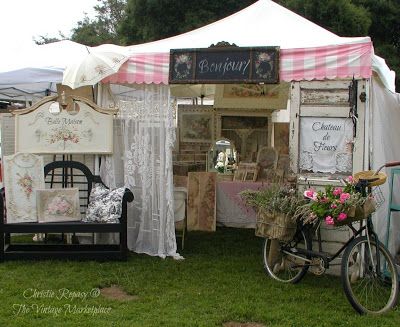
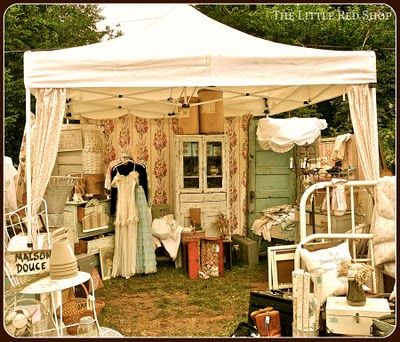
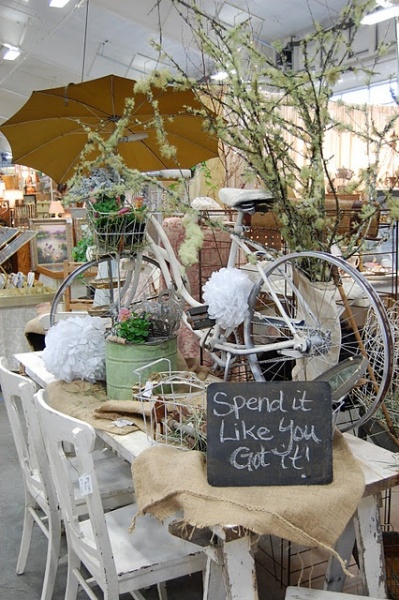
There’s nothing like a variety of textures and/or textiles to make a booth feel warm and welcoming. That may include making your hum drum EZ-up tent charming with curtains, signage and my personal favorite, plants! I naturally want to spend more time looking at a booth that feels warm and inviting and the more time I spend in that booth, the more likely I am to spend money.
2. Use all AVAILABLE SPACE
BUT (and it’s a big But), keep it open. Don’t block the opening of your booth because you want people to be drawn in. I made the mistake of setting up a long table right in the very front of my tent at one of the flea markets I sell at. I wanted my best sellers to be right in the front and accessible. Instead, no one ventured past the table to look at everything that was “behind” it. I did a quick re-arrange and it solved the problem. So, keep the perimeter of your booth full but leave the entrance area open so that customers naturally venture in.
3. Draw the eyes UP
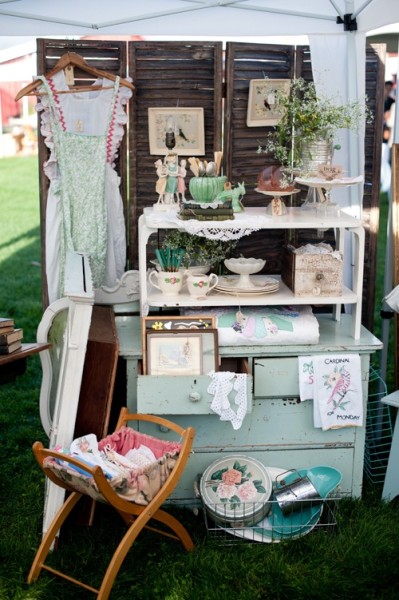
This concept goes along with using all of the available space. Don’t be afraid to stack, stack and stack. Pair colors and items so that your stacked pieces are well coordinated and the display leaves you longing for a little bit of something to take home.
4. Group like OBJECTS
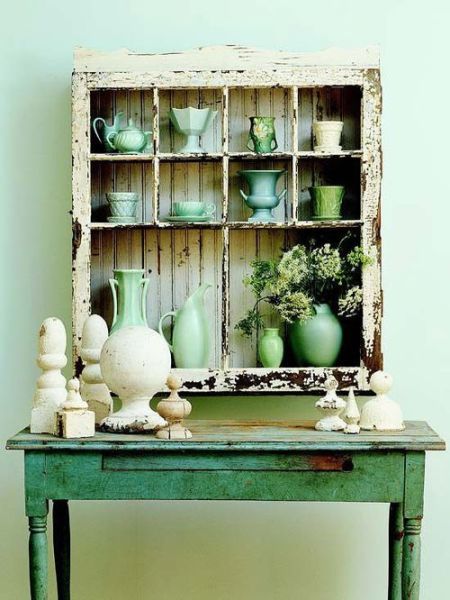
Chances are that if you are selling at a flea market, you don’t have a lot of duplicate pieces or objects. That doesn’t mean your display can’t have a natural flow. If you keep like objects grouped together, customers have a better sense of how to use them in their own home. Perhaps it is mixing and matching cylinder shaped items or coordinating like colors. It could be grouping things by era. If you struggle with this piece, do some shopping. Check out how Pottery Barn, Crate and Barrel, Restoration Hardware, Pier One, etc. set up their displays. Find the common theme and replicate it. Even better, visit an antique mall and pin point the booths that you like and shamefully copy. :/ It’s ok…we all do it!
5. Bookend your PRICE RANGE
I like the imagery of bookends. You have two bookends on either side holding in place a lot of books. When you are pricing items, think of one bookend as more expensive, the other bookend less expensive and all the books as the middle of the road price. If all you carry in your booth are multi-hundred dollar items, you are less likely to sell much. On the flip side, if you have one or two sales, it makes for a great day. But, if you don’t…well…that’s a lot of work for just a couple of sales. If you have too many cheap items…$1 items…you are going to have to sell an awful lot of things to pay for the time and cost of participating. The most profitable vendors at our last BAZAAR had a great variety of small, medium and high priced items. The high priced pieces showed the quality of their work while they managed to have some great low priced takeaways. But, it was the mid-range priced items that gave them the most bang for their buck.
So, with under two weeks until the event, start planning how your booth is going to look. Don’t show up on Saturday morning with no idea! And, check out our Decorating and Displays pinboard on pinterest. I’m inspired by what others have done and all of the pictures I shared in this post are the displays of other talented artists and vendors. You can check out the original sources on pinterest.
Next in the series we will be the PRICING GAME and HOW TO SET UP A WELL FUNCTIONING BOOTH.

