School has started. Fall sports are starting within weeks. Homework. Orthodontic appointments. Piano Lessons. Awana. Sunday School. More homework. Chores. That’s just what my kids are committed to during the week. How in blazes does any mom find the time to finish their own projects amidst a busy life?
I can’t even pretend to know what you’re schedules look like, but I can offer a few bits of advice on how you can manage to find the time to work in a little Miss Mustard Seed’s Milk Paint DIY amidst your busy schedules.

1. Have an idea of what you want your project to look like BEFORE you come shop for supplies
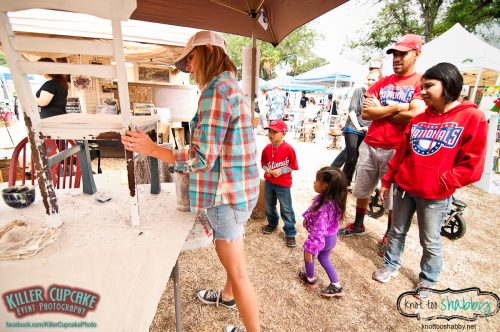
Let me start by saying that I love engaging with customers about their projects. We explore colors, fabric swatches, iPhone photos of their rooms and pieces (and occasionally photos of other…how should I say it…things…which is why I will NEVER look at your phone while you scroll through photos. It just saves us both from a potentially embarrassing moment).
45-60 minutes later, after waffling over this color and that color, they leave with a few bags of supplies and a heap of information (and I have the picture of you know who’s you know what forever burned into my memory…sobs).
If you are a busy mom and you only have 30-45 minutes to stop by and pick up your project supplies, know before you head on over what it is you want your project to look like. Believe me…I’m not that interesting and you don’t want to be spending your morning or afternoon with me talking your ear off about the finer subtleties of light vs. medium distressing, color theory or the differences between antiquing finishes and industrial finishes.
Bring photos of the piece(s) that you are painting along with your Pinterest images of the inspiration pieces you are trying to replicate. If I can see what you are painting and what you want it to look like, it is super easy and quick for me to point you to the right color, determine whether you need bonding primer, should seal it with wax or hemp oil or may achieve a sweet look with a wax puck. You’ll be in and out in a jiffy and on to the next errand!
2. Understand your substrate
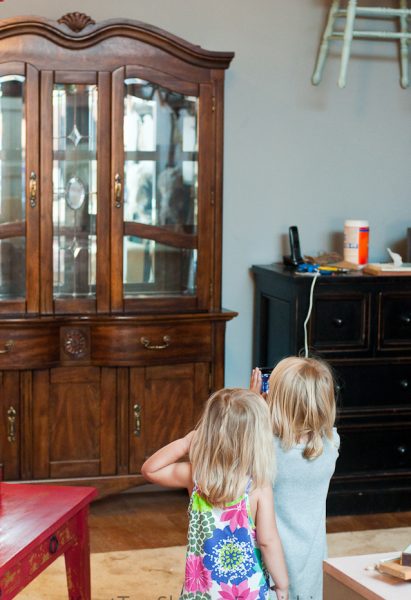
Substrate generally describes the base material that you are painting. For example, most furniture substrates are either waxed wood, varnished wood or raw wood. Knowing the difference will help you to determine not only the best product to use, but the best process. When using MMSMP, understanding the different substrates may be the difference between a project that takes a couple of hours or one that ends up taking a couple of days because you didn’t understand the type of surface you were painting, therefore requiring a total project redo.
When I teach MMSMP Workshops, I use the phrase, “more shine, more prime.” In a nutshell, the shinier your substrate is, the more bonding primer you’ll need to add to your paint for good adhesion. The less shiny…or the more raw or worn the substrate is, the less likely you will need any bonding primer. This is a really simplistic way of looking at it and there are a dozen and one variables that may need to be considered, but it’s a good rule of thumb to start with if you are new to milk paint.
3. Organize your project into smaller and manageable chunks of time
I know that I could never get my own kids to leave me alone for the solid 3-4 hours that it takes to see a project to completion…at least not without duct taping them to a chair and sticking them three feet from cartoons. But, that’s not how I roll (or is it….mwahahahah).
But, I usually can count on them being occupied by a task for at least 45 minutes. That’s all I need to get a decent start! And, if you’re kids don’t absolutely drive you batty when they try to “help,” give them a simple task that will assist you with the project. For example, mine were satisfied with taking off knobs and handles. They thought they were cool stuff getting to use high tech equipment like a screwdriver.
So, here’s how I divide my project into mini-tasks that each take about 30-45 minutes each (depending on the size of the piece you are tackling):
Prep Time
-Set up your designated work station, preferably someplace that can keep your piece of furniture and supplies handy for a day or two.
-Clean your piece well to remove any grease and grime
-Lightly sand the surface to give your piece more tooth for the milk paint to grab on (if you are painting raw wood, you won’t need to sand at all).
-Rinse off any residual cleaner and sanding dust with a damp cloth.
-If you need to tape off any areas like glass doors or mirrors, do that step now
-Remove hardware (set aside in a small bowl to keep them together…says every person who has ever lost the last knob or it’s screw…mmmhmm…it happens!)
-Clean up the prep mess
-Set aside all of the supplies needed for the actual painting (i.e., paint, pitcher of water, mini whisk or mixer, clean brushes, paper towels or rags, spoon to scoop paint, and container to mix paint).
Paint Time
-Mix up your batch of paint (about equal parts powder to water)
-Go fold a load of laundry or empty the dishwasher, take out the trash…something that will take you about 15-20 minutes. You want that time set aside for the powder to dissolve into the water. If you neglect to let your paint “set-up,” you’ll be painting with a chunky batch and likely to see color variation throughout your piece of furniture.
-Paint your piece. Milk Paint dries quickly. Chances are, by the time you are finished with your first coat, you’ll be ready to start the second coat if needed.
-Don’t forget to mix your paint as you go to keep all of the ingredients equally distributed throughout your mixture.
Finishing Details and Clean Up
-Once the paint is dry, lightly sand to add light distressing, remove any chippng paint and to smooth the paint finish.
-Add your top coat; if your substrate was a more worn or dry finish, hemp oil is an ideal top coat. If you were painting over a shinier surface, then I recommend sealing with beeswax or Tough Coat (as a reminder, you never wanted to put Tough Coat over a wax finish).
-Let the wax harden for about 30 minutes, or allow the oil to soak in or the Tough Coat to dry. While that is happening, begin cleaning your work space and supplies.
-When your space is clean, lightly buff your piece with a soft cloth…old t-shirts and socks work well.
4. Give your freshly painted piece time and space to fully cure
In simple terms, curing is a chemical process that the paint and wax undergo over a period of about 21-30 days. During that time, the various ingredients and vapors or being released and the paint finish is becoming more durable. That being said, you want to be gentle while it’s curing. There is no top coat that is impenetrable to the goings on of rough kids, sloppy spouses, house pets and day to day life. BUT, if you allow your piece to fully cure before you use it regularly, the chances of it withstanding all that life throws its way increases dramatically.

Painting is fun and seeing transformation in your house is rewarding. But, it can be stressful amidst the craziness of day-to-day life. Hopefully, these simple tips help you to organize your projects to make the most of your time!
Now, go out and have some fun with the kids! 🙂
