
Thanks to the holiday weekend, I had loads of time to spend on some outdated furniture pieces that I picked up on Saturday! I completed what has become my favorite furniture retrofit project (at least up to date).
An old and very dilapidated vanity, complete with no hardware! Snagged at a yard sale for $10.
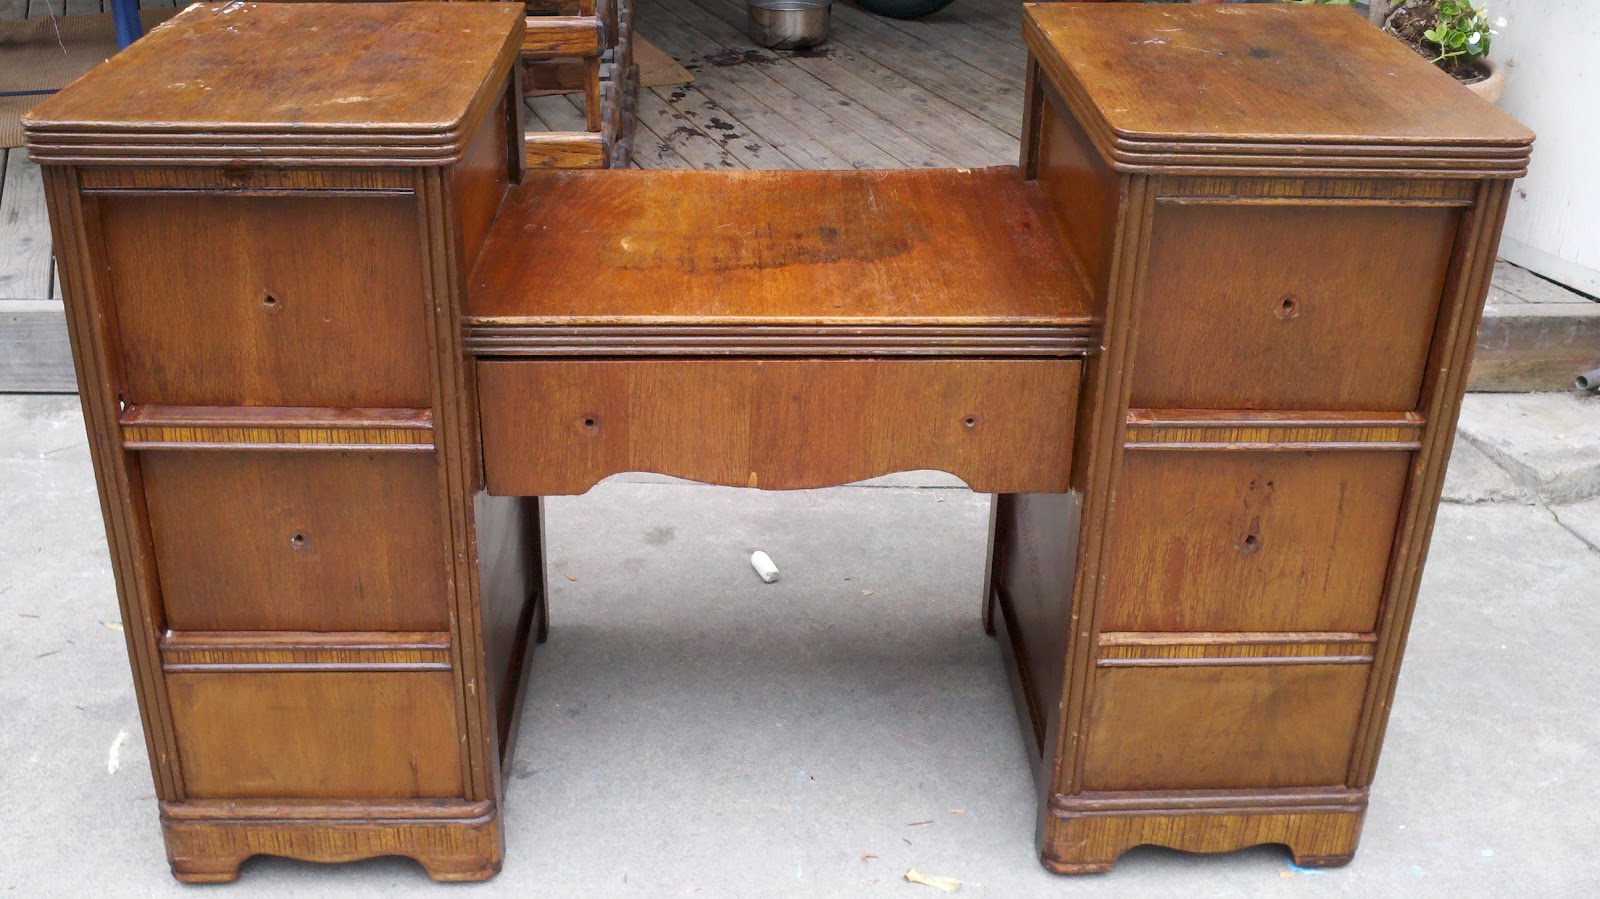

The top of the vanity had a veneer finish that was chipped all over the place. I’ve attempted to re-glue veneer finishes in the past and it never works well. No matter how much it is filled and sanded, the surface is always uneven. But, this time I decided to let the uneven and “chippiness” work to my benefit so I re-glued and filled in the veneer with some all purpose putty and sanded down to a semi-smooth finish.
My Inspiration for this piece: This somewhat similar vanity I found on Miss Mustard Seed (my new favorite blog), simply because I already had paint that color and it was a vanity shaped similarly to mine. Ironically, my finished product looks NOTHING like this.

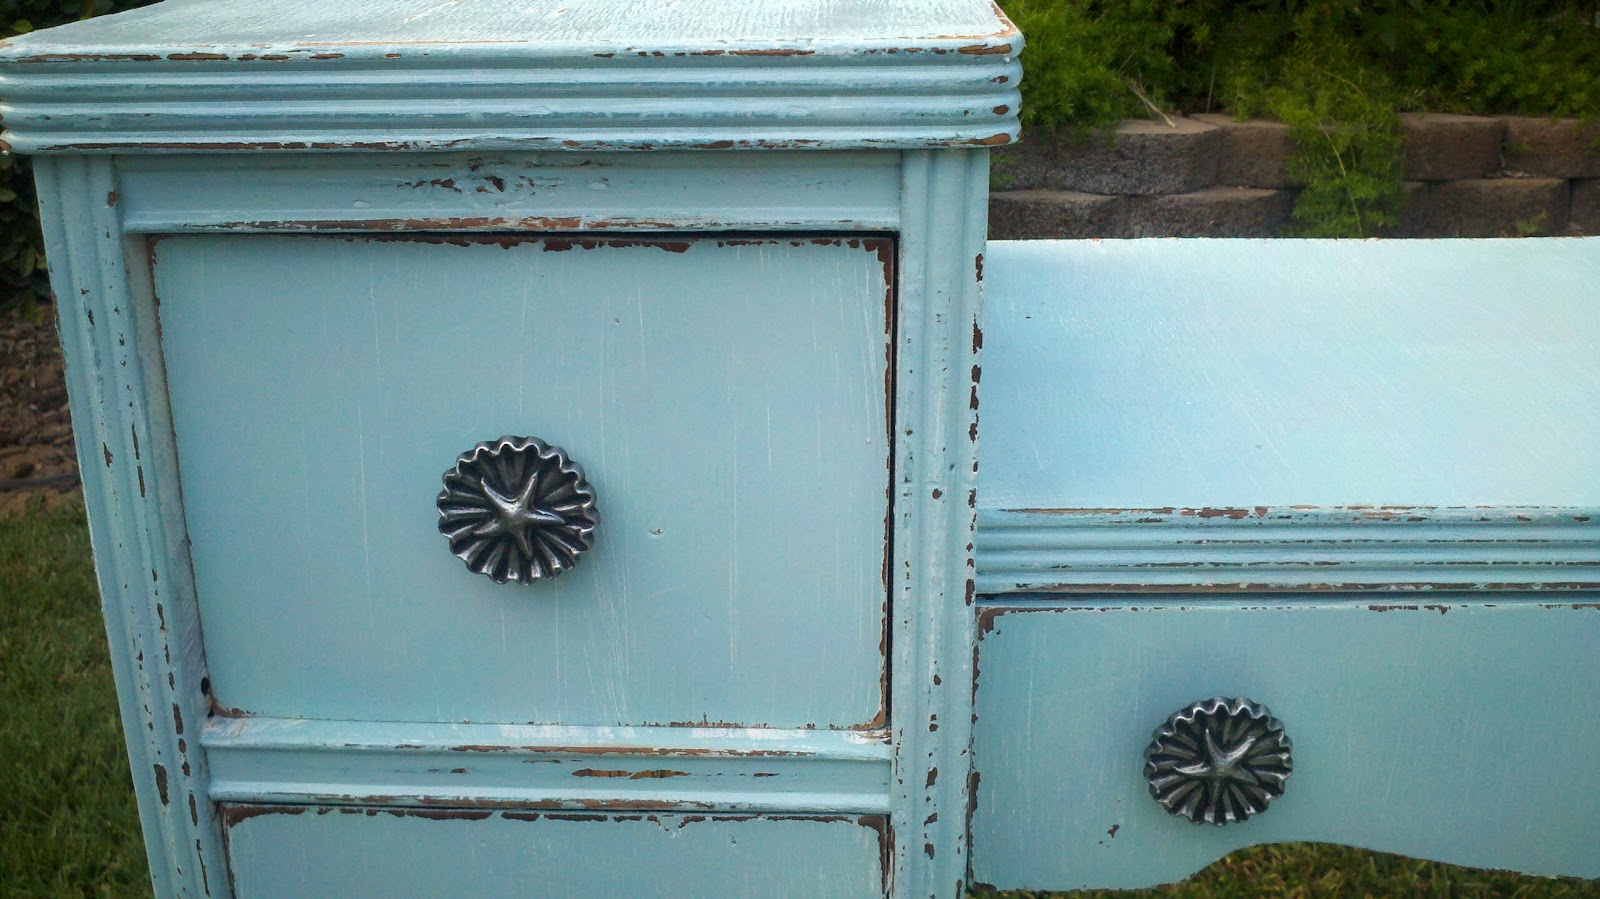
And, my other piece of inspiration: New errr…I mean old hardware from a yard sale. Scalloped sea shell edging with a starfish in the middle.
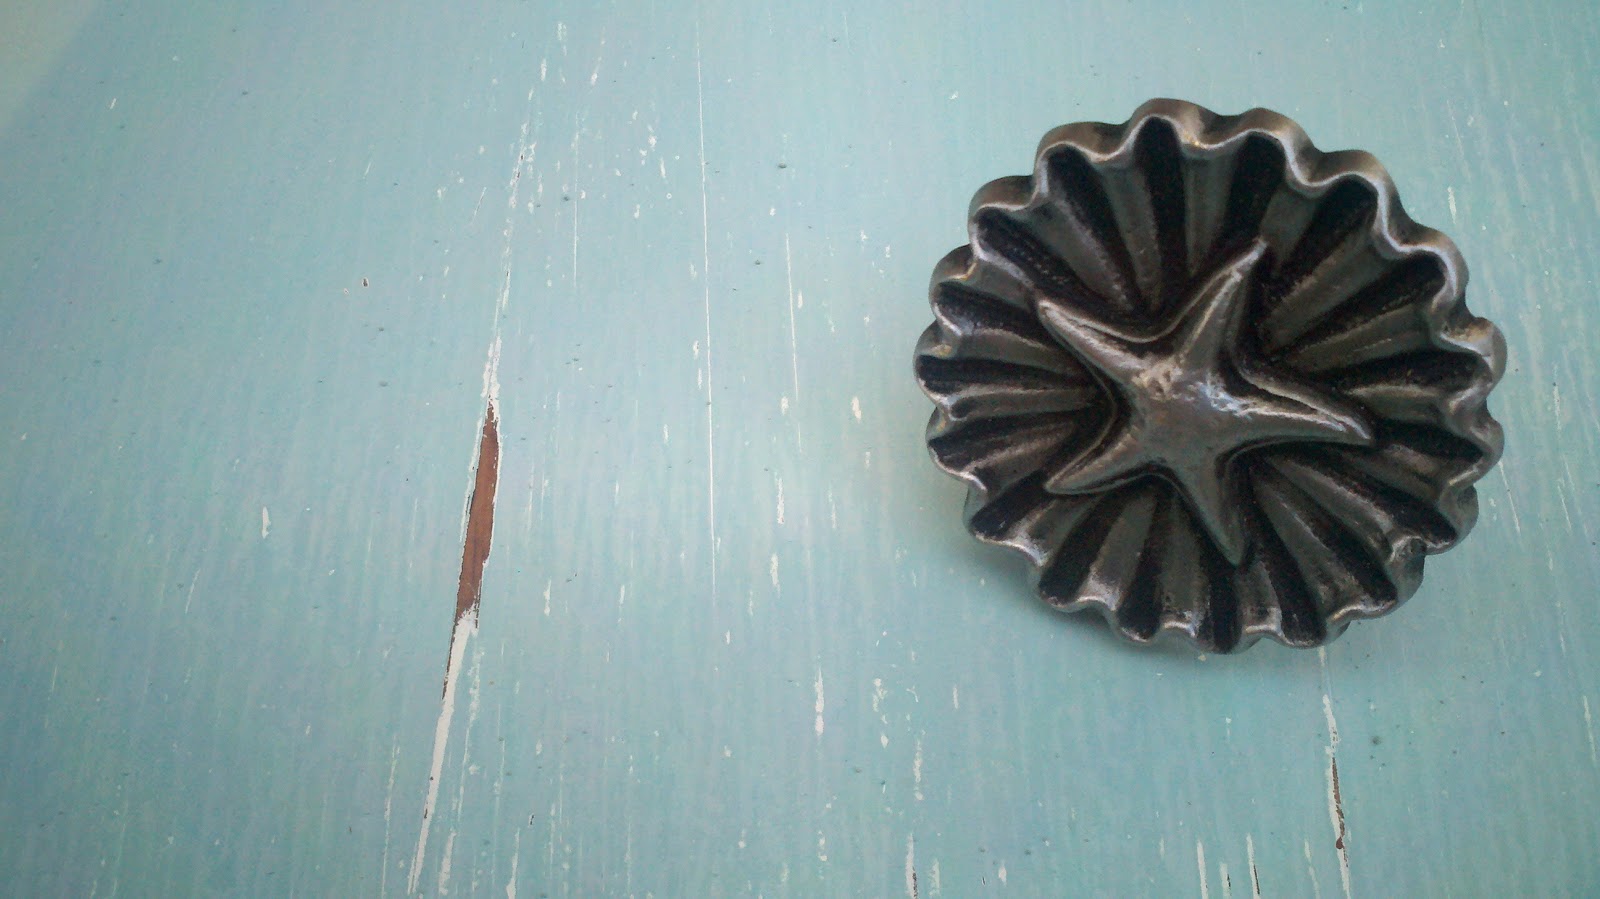

My bright teal blue oops paint from Home Depot for a whopping $5 mixed with some high gloss white softens the color so that it looks oceany.
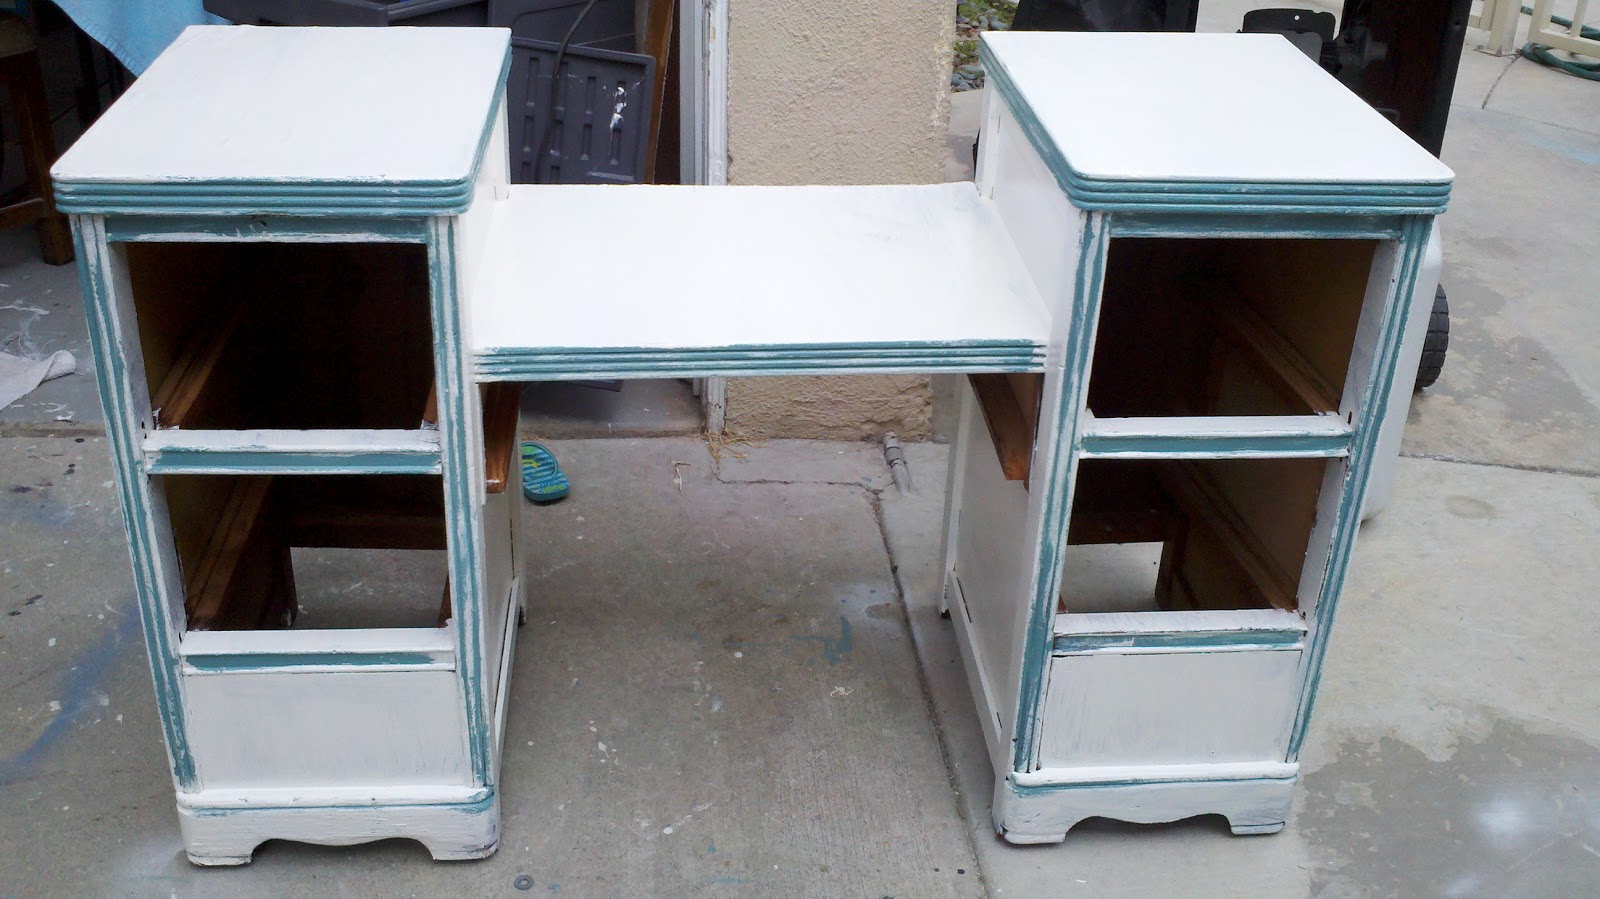
I primed the entire piece with white paint and used the teal to paint the edges in hopes that when I distressed it the blue would come through the layers of color.

I added the new, softer teal color over the prime, but just one coat. I was hoping that the brush strokes would let some of the white come through. Fortunately, it worked…the time anyway. Then, on to the distressing. Normally, I use a 100 or 220 grade sand paper to distress my furniture pieces so that it blends with the paint. But, for this one, I wanted it to look as though the paint had been chipped off all over the place…as though it had been tossed around by the ocean and washed up on the beach. So, I used a 60 grade (super coarse) sand paper to chip away at the paint and this was the effect.
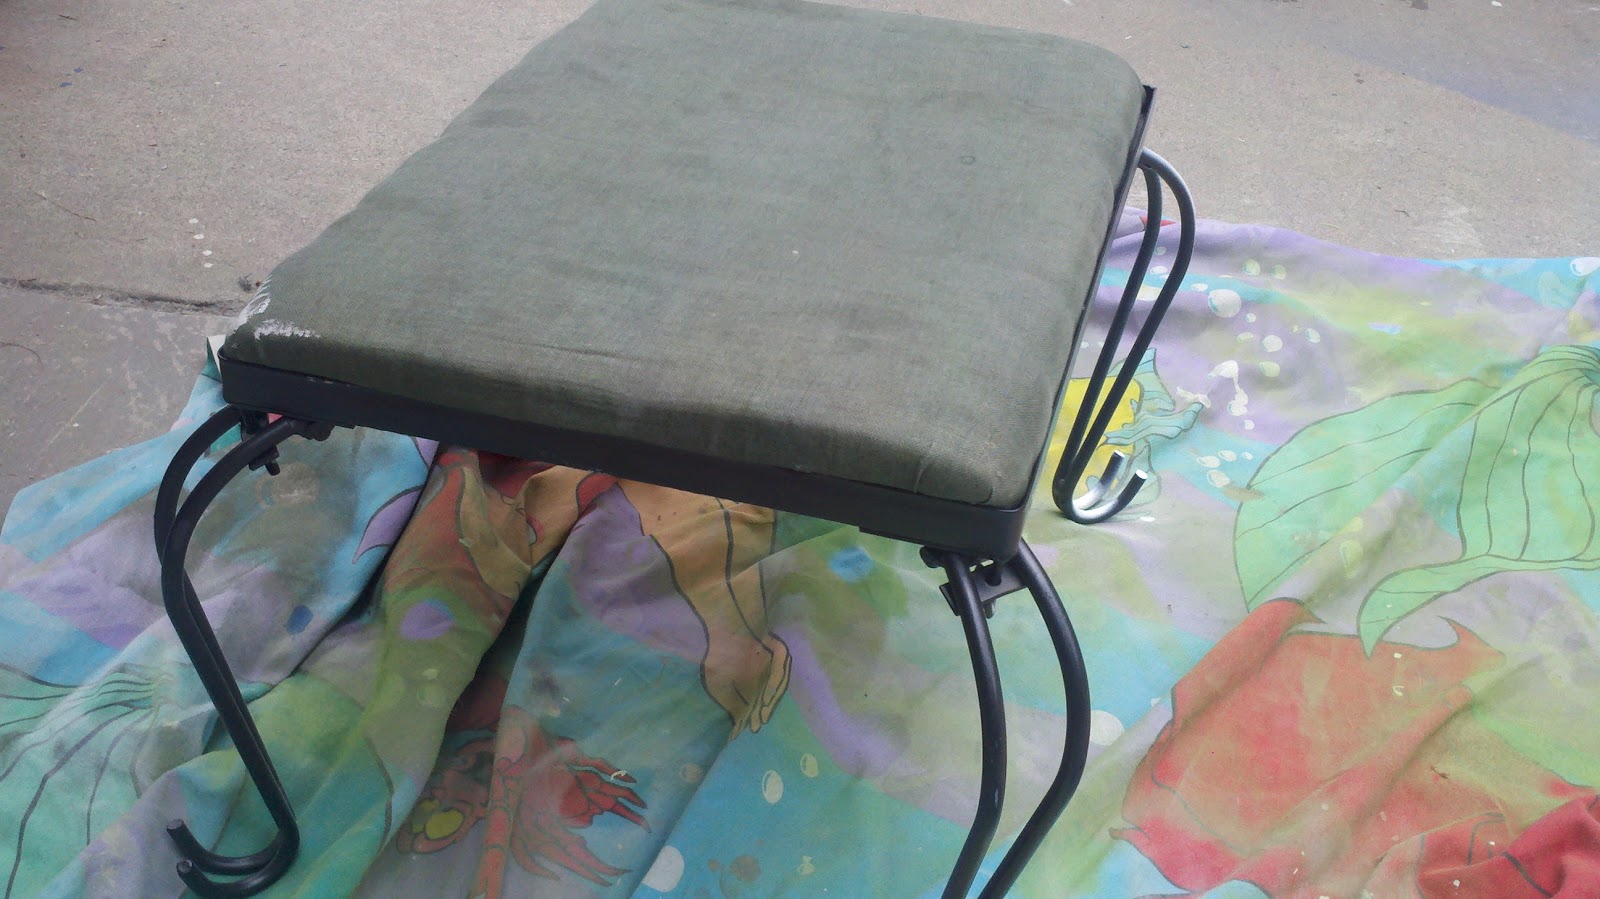
Every good vanity must have a coordinating bench…and this one just won’t work.
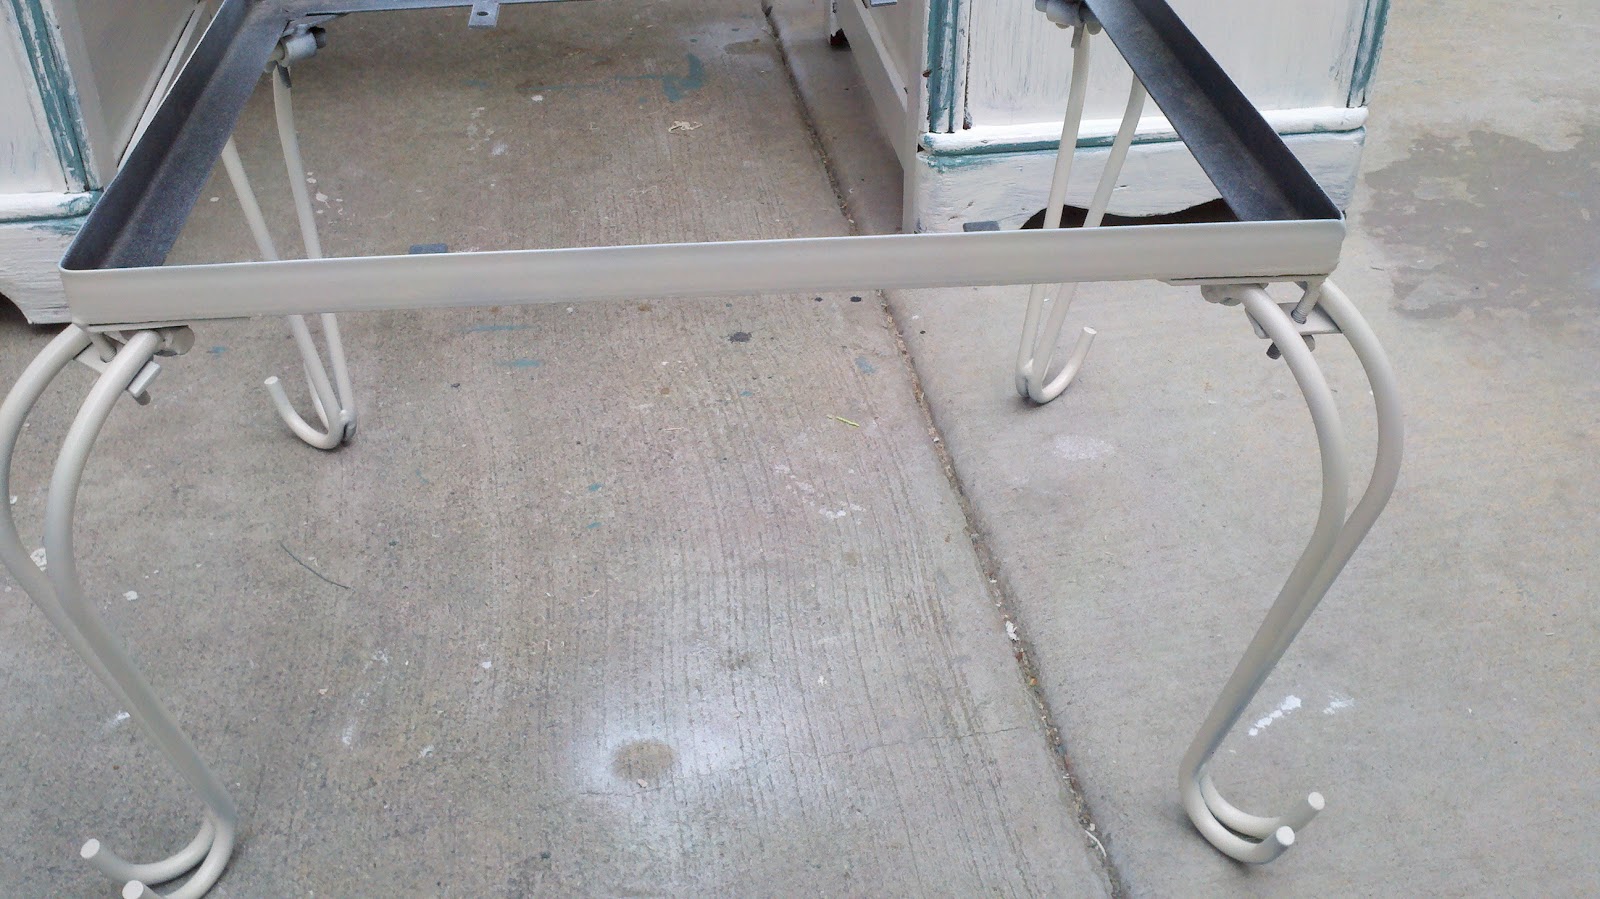
Spray painted the base antique white.

Added some of the dark teal blue color with my fingers all over the legs and frame then lightly distressed it so that the the blue and white blended better. Finally, reupholstered the seat cushion with a seaside/tropical material, added the hardware, and…

Looks nothing like the inspiration piece I found online.
It is barely noticeable, but if you look really closely, you can see the dark blue come through around the edge.

I love the white color and wood blending that comes through on the top of the vanity. Where you see the wood in this picture is where the veneer finish is uneven. My hope was that it adds to the character of this vanity! I’ll let you know when it sells!
Speaking of selling things, I semi-successfully delivered my pitch for opening a store downtown at last Tuesday’s night council meeting. I say semi-successful because city council under the STRONG advisement of city administration voted to extend the moratorium on second hand businesses for an additional 10 1/2 months! Not all is lost, though! I think I won the favor of some council members and the mayor (who by the way met me at Blue Chair prior to the council meeting to look at some of my furniture pieces and wrap his head around my business idea…he then gave me a ride to the council meeting!). If the planning commission chooses not to give me a business license, I can appeal their decision which goes directly to city council. Based on Tuesday’s meeting, I feel confident that they would choose to give me a business license. So, we shall see. I will know for sure my next steps on June 7th!
In the meantime, I am stock-piling furniture and refinishing pieces like crazy in anticipation of opening a store. Then, comes the arduous task of selecting a store name! Any ideas?

Gorgeous! I love the colour. I’m a new follower.
Megan 🙂
I’m a new follower as well!!
Arrggh! I need the space.
I’m thinking about building a home, here in Los Angeles, out of old shipping containers.
Tumaini
good luck on the store. I grew up in glendora and my dad still lives there. I know the city council can be tough sometimes. A friend and I have slowly been doing the same thing collecting pieces and trying to find time to redo them for a sale someday. Lots of work but lots of fun.