
I bet you think I’m going to reveal a sneak peak of what the store is looking like these days, in its state of near readiness. But, no. I have another sneak peak of a project that isn’t finished yet! I just love how it is turning out that I couldn’t wait to share some pictures of what I’ve been working on over the past few days. Remember this:

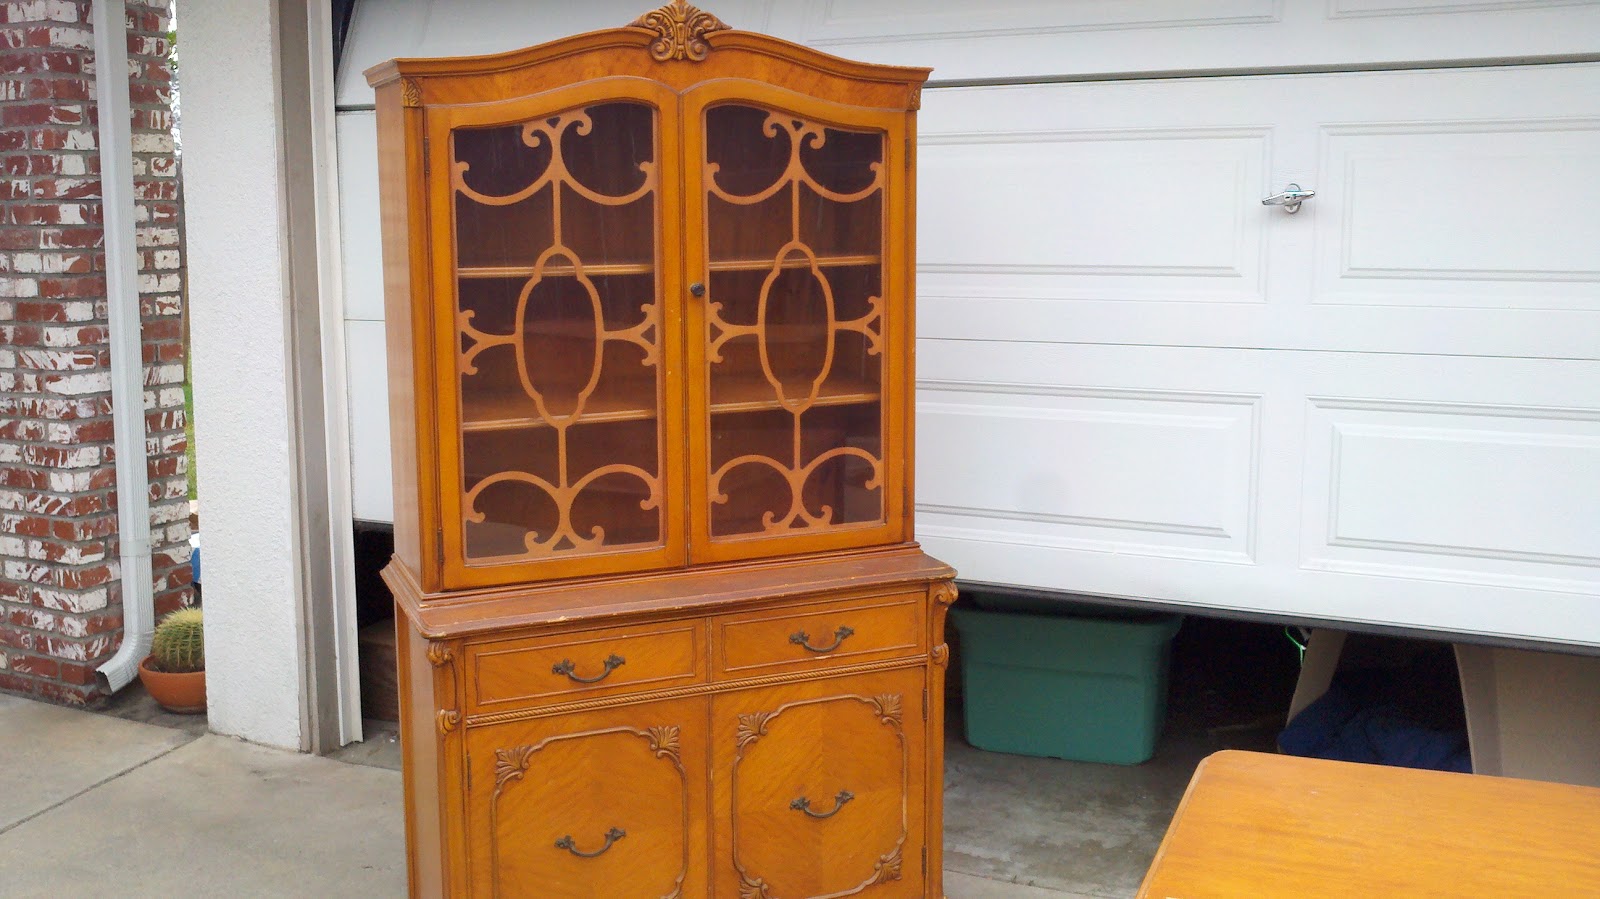
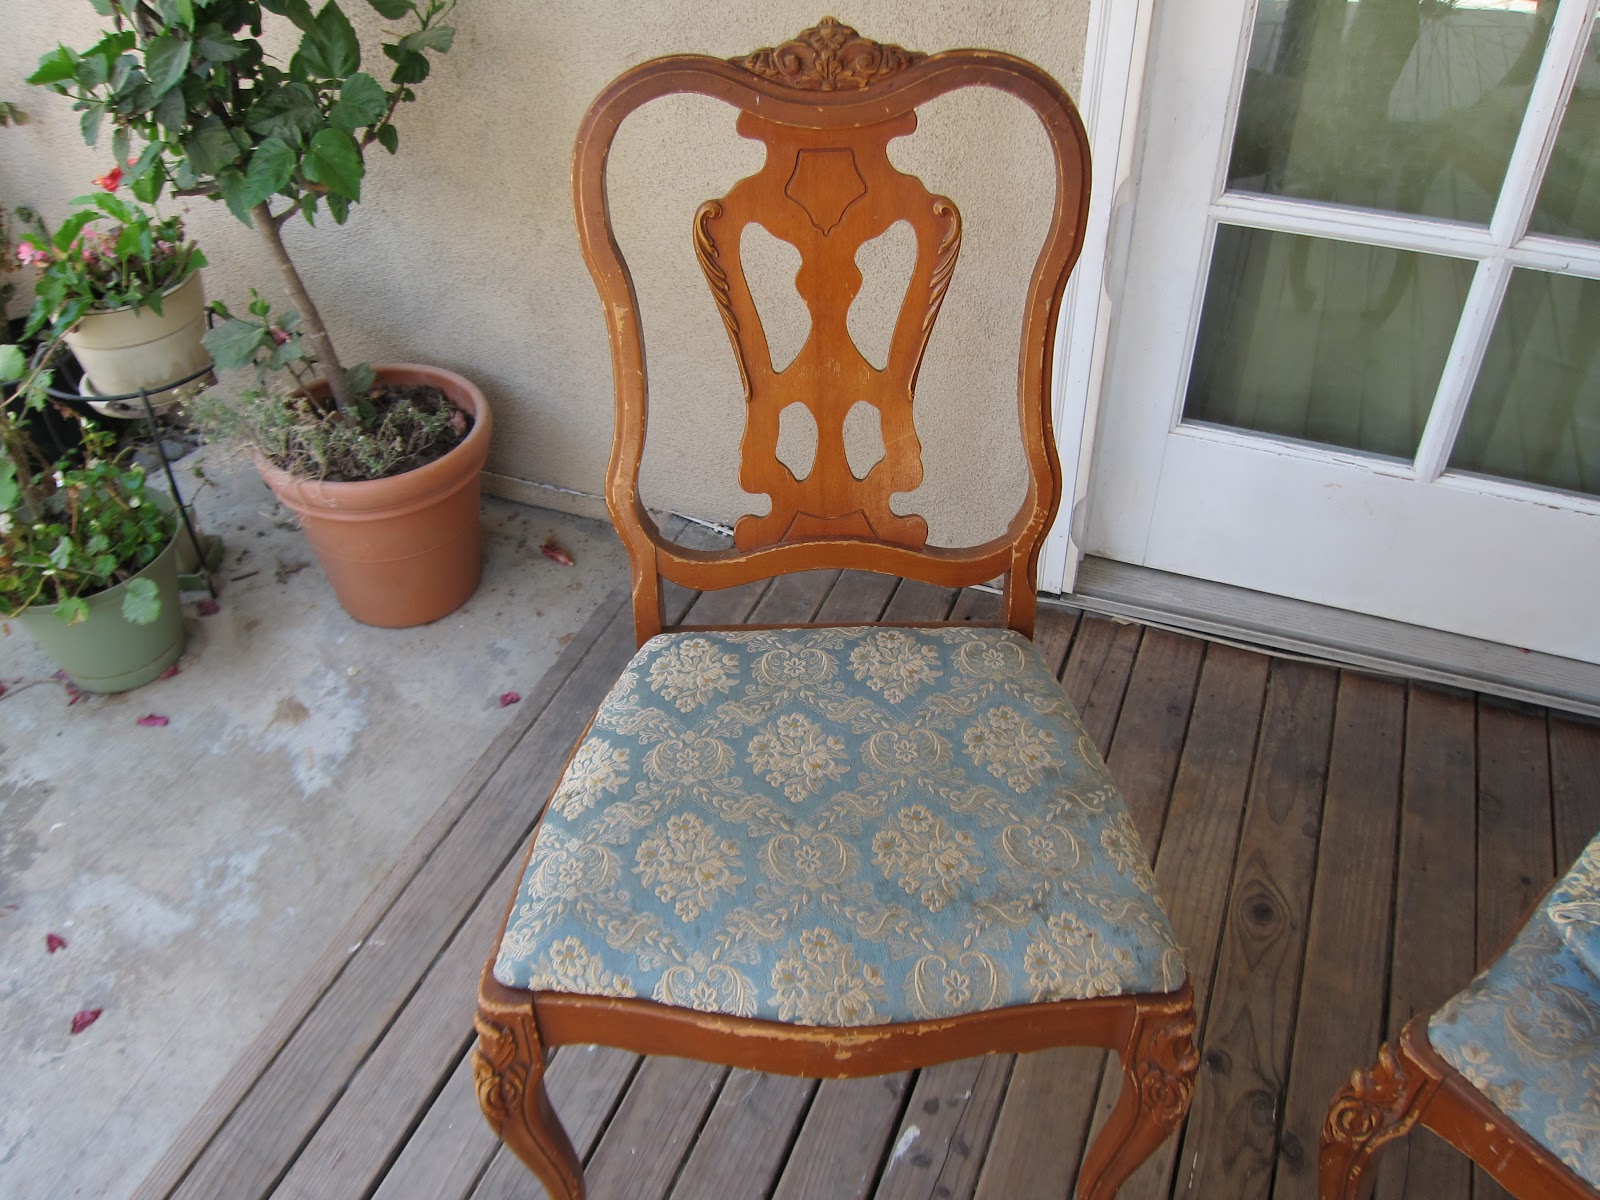
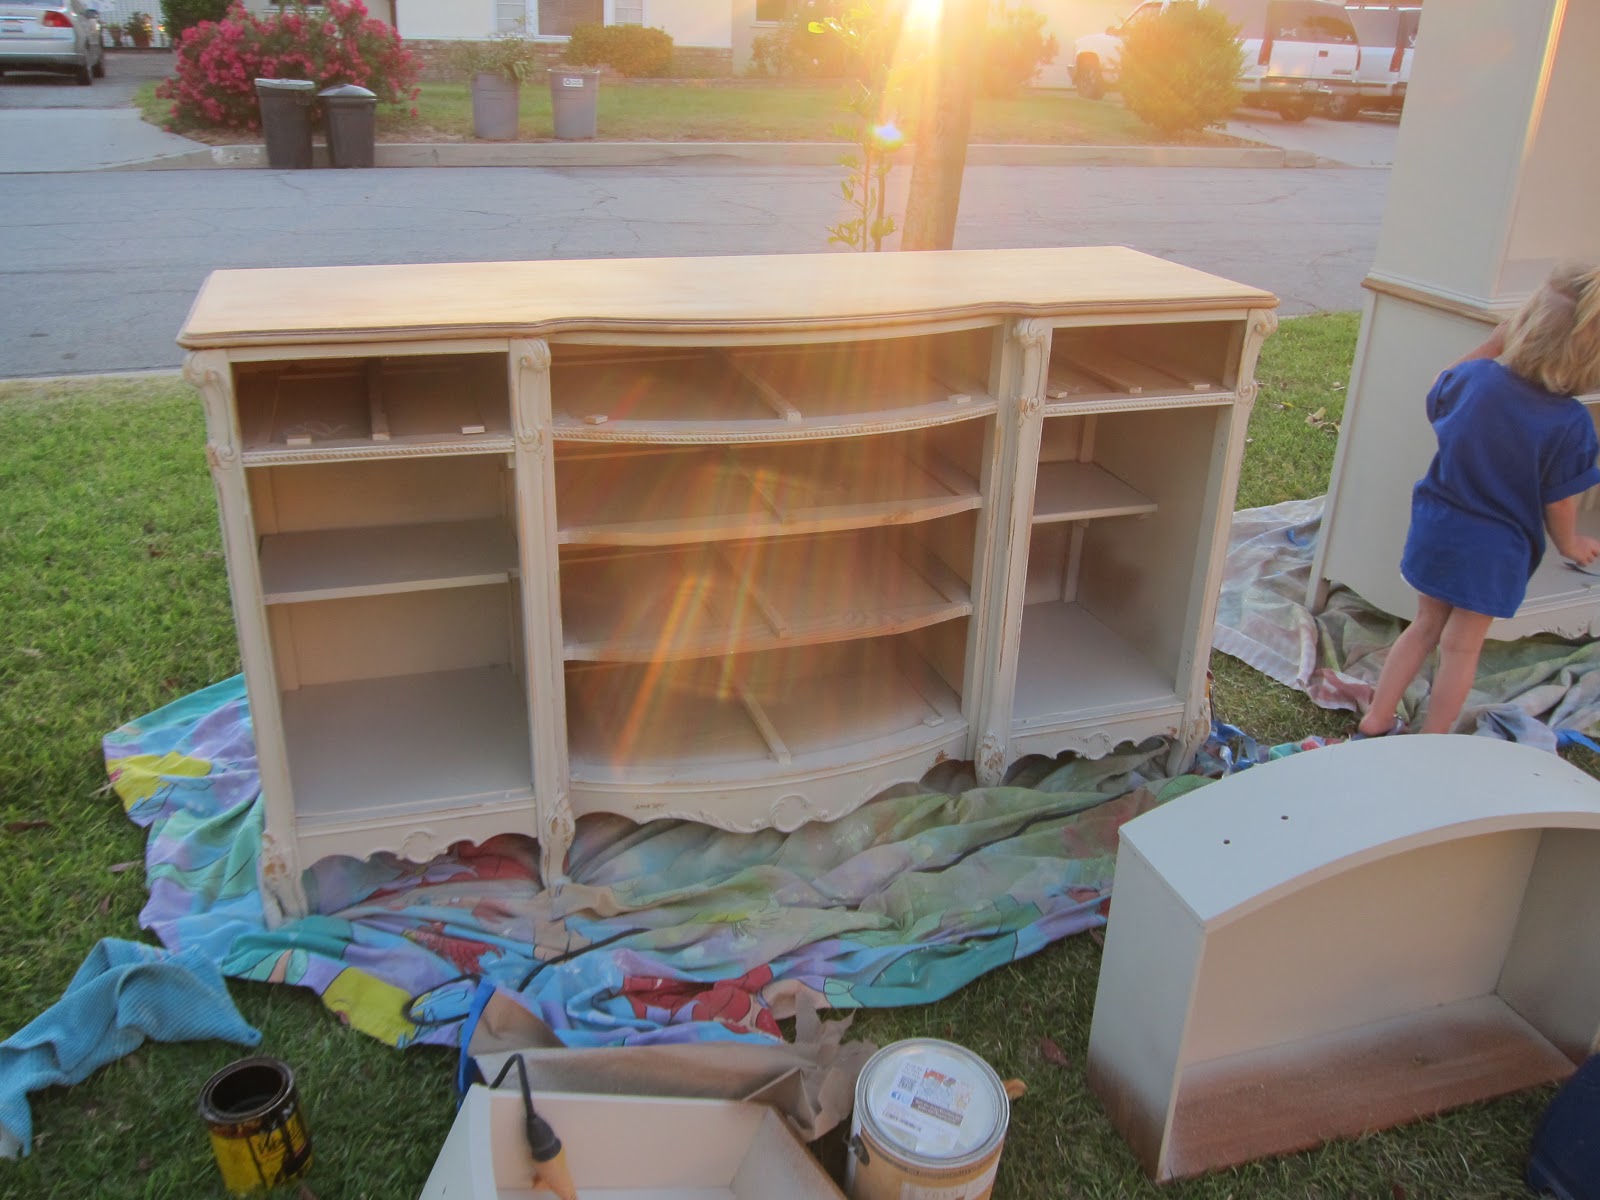
I wrote about this great french style dining room set that I snagged up a few weeks ago and had mixed feelings about whether to paint it or re-stain it. I asked for some opinions and comments and the response was an overwhelming…”you can’t paint that.” But, who are we kidding. I paint everything. So, I opted for a compromise on the paint/stain issue and decided to do both. To complete this daunting task, first I started by purchasing a brand new paint sprayer. For a project this big, I figured I could cut my paint time by 75% if I could spray each piece rather than brush paint it. But, to keep that brush painted look, I had a plan (more to come on that matter).
Next, sanding. I did something very risky to soften the varnish and prep the set for sanding. I think everyone knows that weather has adverse affects on wood. If wood gets wet, it absorbs the water and becomes warped. A problem which can never be repaired (if you know of way to repair warped wood, please tell me because I have yet to find a suitable solution). If wood is exposed to extreme heat, it becomes extremely dry and cracks. A problem that can sometimes be repaired but never looks the same. Here, in beatuful So. Cal, it has been hot during the day, but still a little damp at night. So, I crossed my fingers and left the set outside for 2 weeks. YIKES! Scary, right? I was hoping that the daytime heat (like 85-90 degrees) would cause the varnish and stain to dry out and start chipping while the nightime moisture would keep it from cracking. There wasn’t enough moisture to cause any warping so I wasn’t too concerned about that happening. And, with careful monitoring, the varnish on the china cabinet and hutch began chipping away, leaving the sanding job a piece of cake. It only took me 45 minutes to sand the top of the china cabinet and hutch.
Hardware removal came next and took about as much time as the sanding. What, with seven drawers, six doors and six chairs, there were a total of 201 screws to remove.
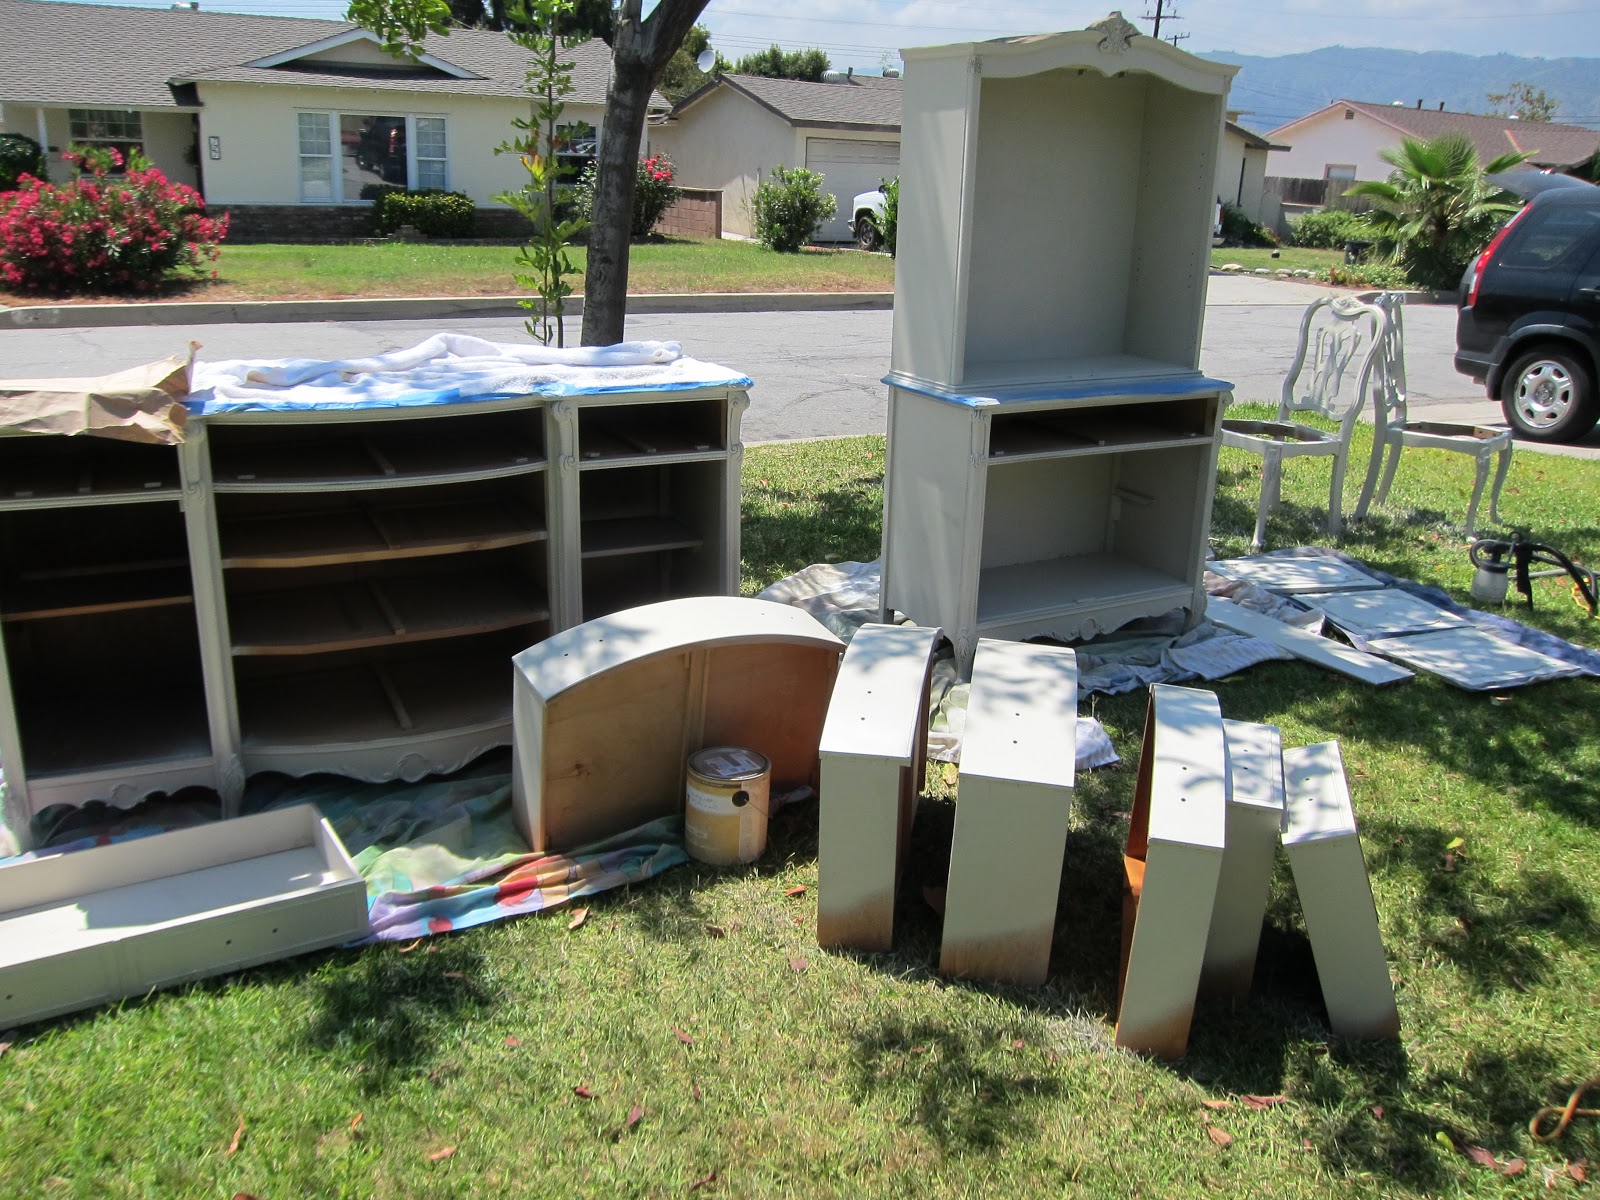
Then, on to the paint spraying. Since this was my first big scale spray painting job (and not with the cans of spray paint but an actual paint sprayer), I want to share some tips and tricks to making the job a little easier.

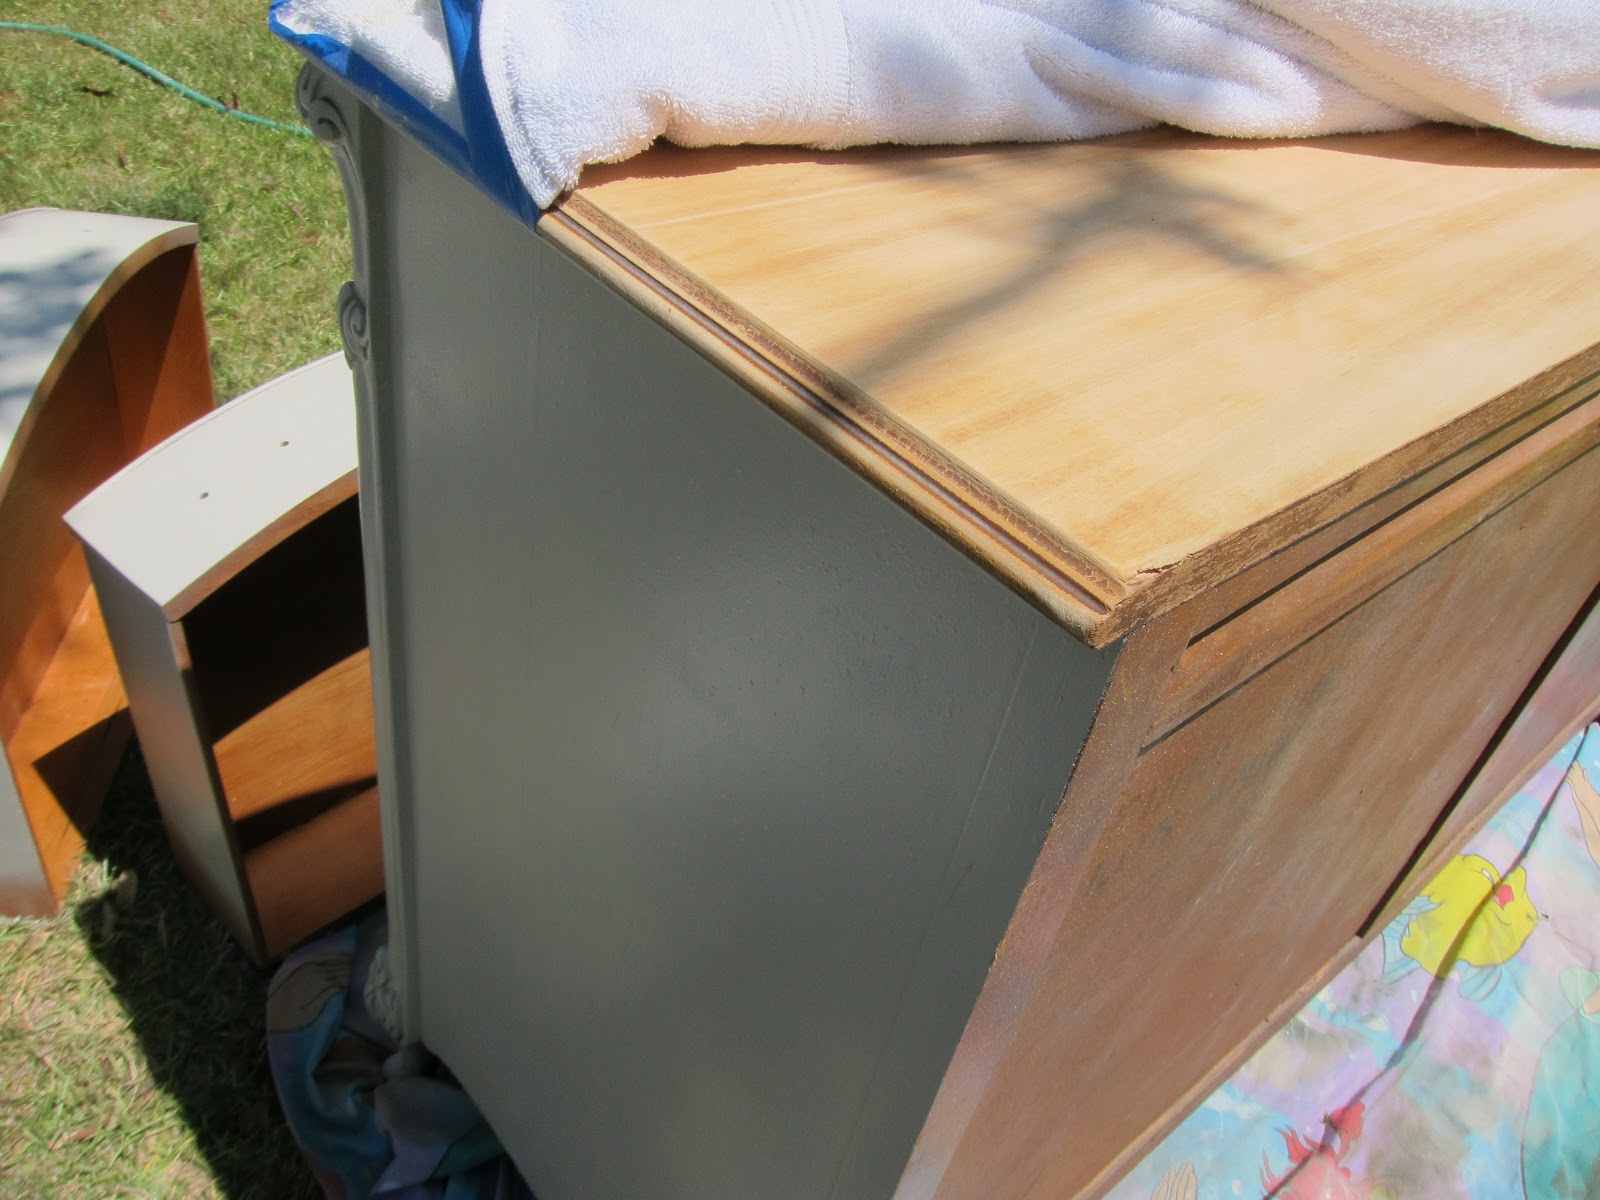
After two days of hard work, this is a sneak peak at one of the doors on the china cabinet, which is nearly complete.


Thanks for sharing all your beautiful inspirations and pictures. I’m your newest follower and look forward to your next ideas!
Have a nice weekend!
Tine
I’m excited to have found your site today (I think it was the Shabby Creek Cottage Linky Party) and eagarly am counting myself as your newest FOLLOWER!
Happy to hear about your adventures as a new business owner too 🙂
~Suzanne in Illinois