
They are all over pinterest, blogs and magazines…entire walls turned into chalkboards. It is so trendy right now. In fact, I read in a home design magazine that among the top ten interior decorating faux-paus listed were “turning every vertical and flat surface into a chalkboard” (another one that I remember was decorating with fruit).
They’re cool, though. What a great way to add a punch of color and art to a room…with the added bonus of functionality.
Last fall, I jumped on the bandwagon and turned the wall in my (very small) laundry room into a chalkboard. I try to prevent my laundry room from being a “catch-all” room in the house. It is connected to the kitchen and the pass-through the the patio in the backyard. Basically, it gets more traffic in and out of it than the bathroom yet is one of the least stylish “rooms” of the house.
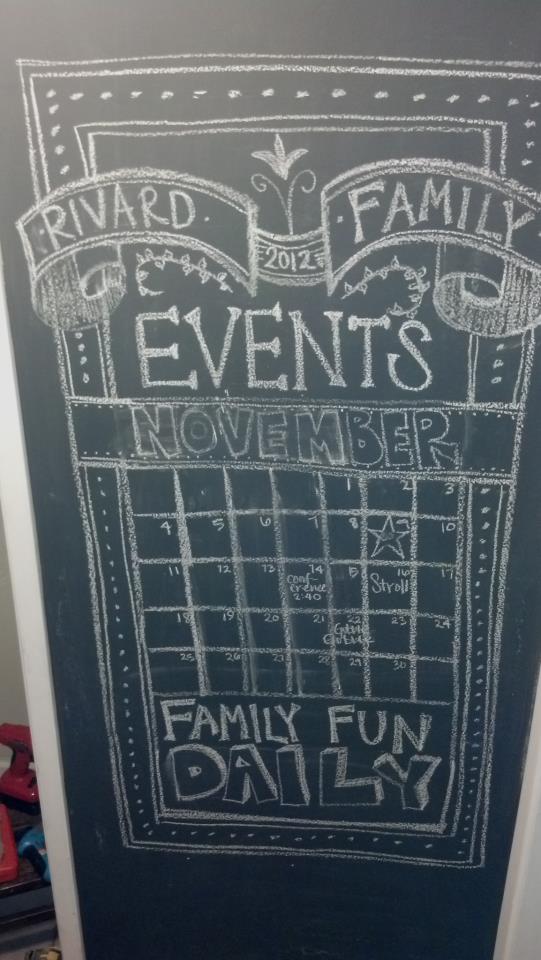
The chalkboard wall serves as our family calendar and each month I try to do something seasonal with the calendar art. The problem is, I can not see a blank chalkboard and envision a fabulous art piece like I can see in a piece of dilapidated furniture. So, every month I pretty much copy someone’s chalk art. It’s not as gratifying as coming up with my own design. But, the more I do it, the more creative I am becoming.

I designed this chalkboard window pane entirely on my own. It’s simple, but it’s not copied from anywhere.
This month, I came up with a chalkboard design all by myself. One that I a proud of.

I found the font style for “April” online and used that as my jumping off point.

I’ve learned that by smudging the chalk with my finger, the lettering looks fuller and more artistic (I’m telling you…I’m not an artist so this very basic technique took months to discover).

I’ve also figured out that my favorite chalk artists use lots of details…dashed lines, polka dots, double striped edges and curly-ques.
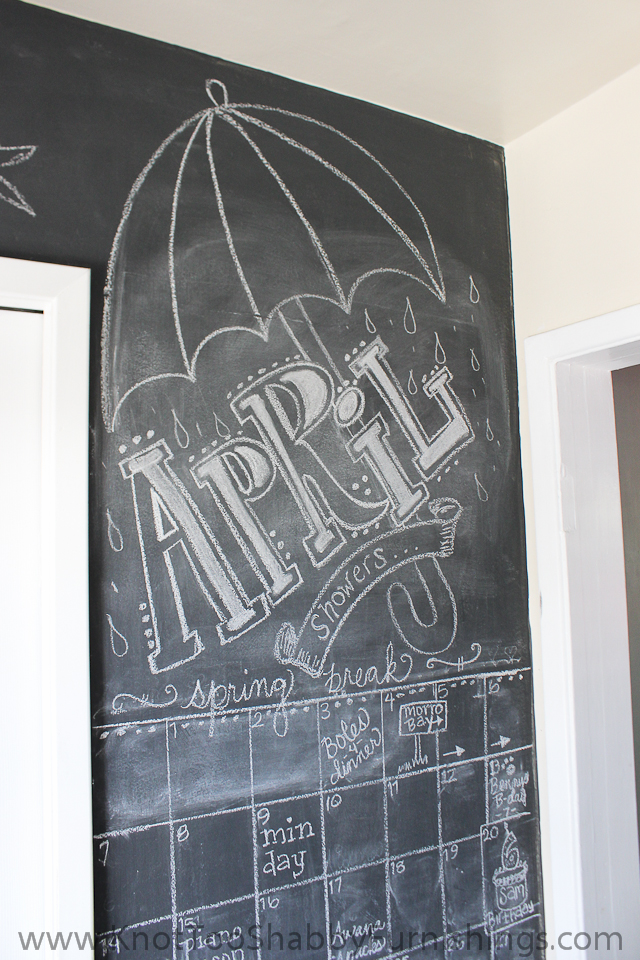
The umbrella and raindrops is my favorite part about this particular design.

And, I leave the lower half of the wall for the girls to add their own artwork.
If you are thinking about doing your own chalkboard wall, here are a couple of tips:
1. You will need three coats to get enough coverage so that your chalk doesn’t pull the paint when you write or draw. Trust me, I’ve tried short cuts and it never works. Three coats does the trick.
2. When you are finished painting your chalk wall, let it dry at least 24 hours before writing on it.
3. Before you dive straight into your chalk art, be sure to prime the whole wall with a piece of chalk. Turn the chalk on it’s side and cover it from top to bottom. This prevents your first art piece from “burning” into the chalkboard.
4. Use a wet wash cloth to clean your primed area and start your artwork with a damp wall. The chalk won’t show up as well, but it is easy to fix mistakes and when you are finished, just go back over it with your chalk and it will look much brighter.
5. If you need some inspiration, check out my favorite chalk artist, Dana Tanamachi. Her chalk art is downright amazing!
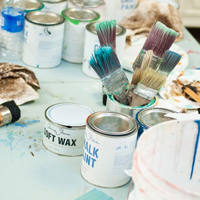
6. I used Annie Sloan Chalk Paint® in Graphite for my more traditional looking wall. But, you can use any of the 30 colors to create a colored chalkboard wall. Provence and Emperor’s Silk are my two go-to chalkboard colors and they look awesome with chalk art on them!
What’s your chalkboard color of choice?

There are some amazing chalkboards out there, aren’t there? YOUR design turned out great and I love you wall. I am still stuck on the black chalkboard paint myself- xo Diana