
This is part 2 of the little chest of drawers I refinished last week, tutorial style!
You can read Part One here.
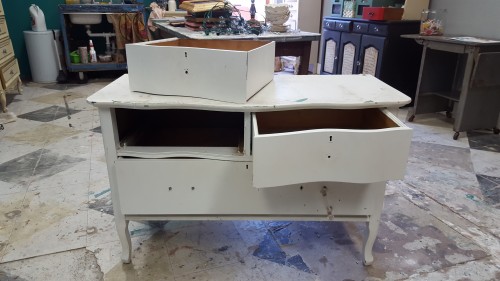
Before
What you need:
Klean Strip (or other paint stripper of choice)
Putty Knife
Protective Gloves and Eyewear
Trash bag
Paper Towels
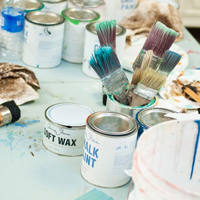
Chalk Paint®
Wax
Sandpaper
Hemp Oil
Stencil
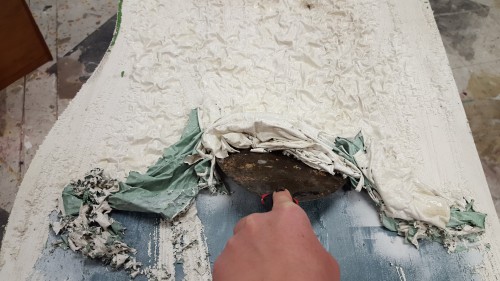
Step 1:
I started by stripping off the paint on the top of the small dresser and the drawer fronts.
There were so many layers of paint finishes…white paint, green paint, blue paint, more white paint.
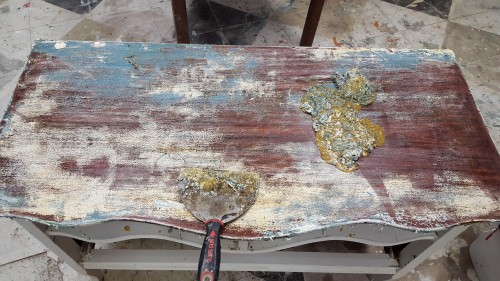
Step 2-4:
Repeat Step 1 until all of the paint and varnish is mostly removed.
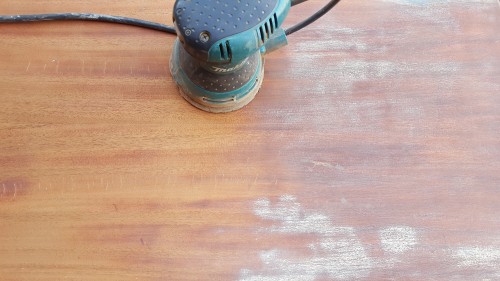
Step 3:
Using an orbital sander, sand down the remaining paint and varnish until you get a clean wood surface. I started with 80 grit sand paper and then finished with 120 grit.
Step 4:
Paint the framework of the dresser. I mixed a custom color inspired by the 2016 Pantone® colors of the year, Limpet Shell. The mix is three parts Pure White to one part Florence Chalk Paint®.
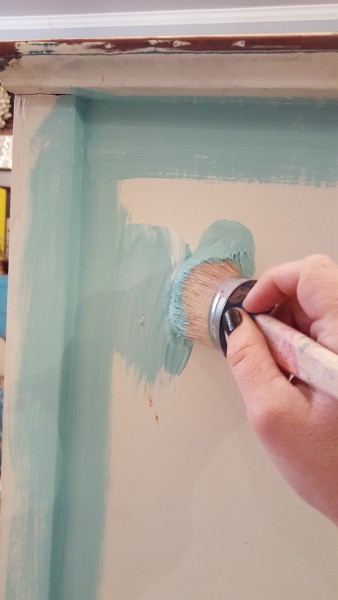
Step 5:
While the paint is drying, clean off the sanding dust on the drawers and dresser top. Then generously apply dark antiquing wax to both stain and seal the wood. In this case, I used Miss Mustard Seed’s Antiquing Wax.
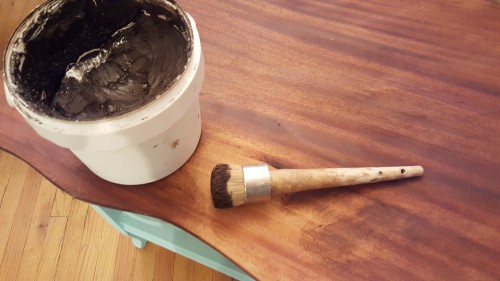
Step 6:
Use the rotary sander to distress around the edges of the painted base. This will allow the sandpaper to “eat through” the many layers of paint beneath the top coat.
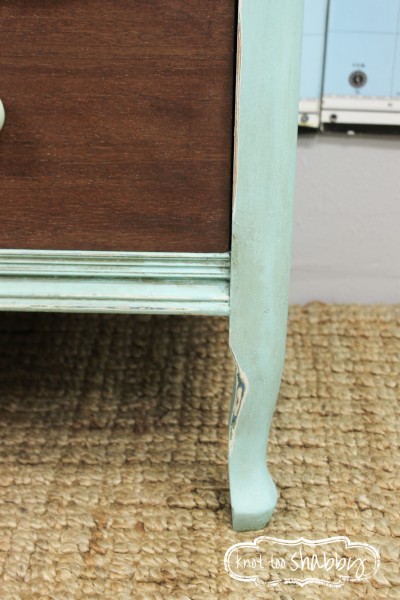
Step 7:
Wax with clear wax then highlight some of the edges and corners with the antiquing wax.
Step 8:
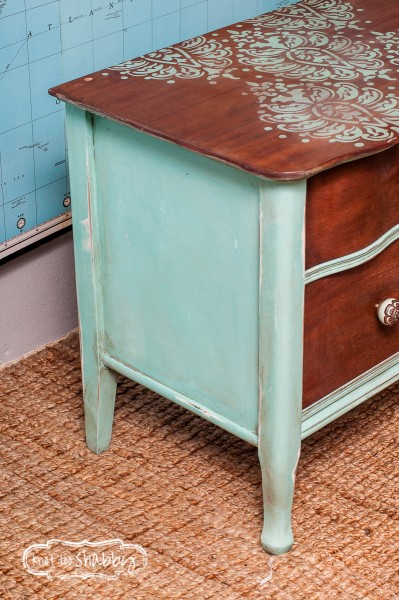
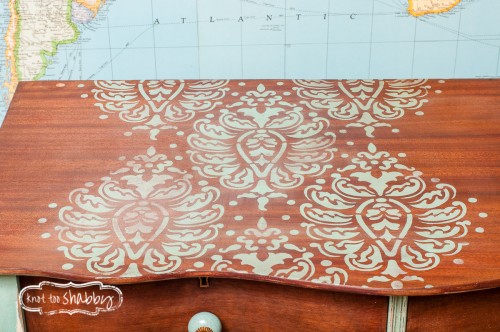
Stencil the top then seal with wax.
After
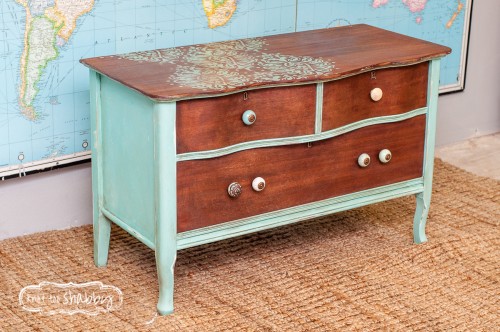
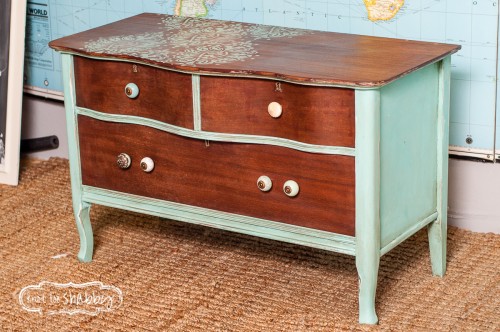
I didn’t have handles the right width to the holes, so just added an assortment of knobs. I’ll probably get new handles at some point in time. Or, leave the knobs? Is that too qwerky for you?

Love it! I will have to try these techniques. I love the mismatched knobs. My vote is to leave it this way.